How to Build Your Own Cutting Board Out Of Exotic Wood
If you’re just getting started with woodworking, we’ve put together a beginner-friendly guide for you.

Cameron Christian, Owner, WUDN
(Probably talking about Style, Food, Liquor, Tech, and the Outdoors)
Loves bad golf, good wine, and a little travel
You’ve got a beautiful piece of exotic wood on your hands. But what should you build with it? The possibilities are endless. If you’re just getting started with woodworking, we’ve put together a beginner-friendly guide for you. Even with a limited set of tools and experience, you can design and create a unique cutting board. Here’s how to build your own cutting board:
Why Is Exotic Wood Different?
Exotic wood simply means that it was imported from somewhere else. A few popular exotic species include:
Padauk
Purpleheart
Limba
When it comes to domestic woods, the most commonly used species include Cherry, Maple, and Walnut. They’re chosen for their hardiness and closed grain.
There are a few key differences when using exotic woods instead of domestic ones. One is that they may be more susceptible to knife marks. They might also be more porous. To mitigate these issues, it’s important to seal the cutting board with mineral oil or wood cream.
Another difference (that you probably know already) is that exotic woods tend to be more expensive. This is due to their rarity, unique appearance/tone (which makes them highly sought after), and the cost of importing them.
Now, let’s get into how you can use your exotic wood to make a cutting board:

Exotic purpleheart and maple wood cutting board
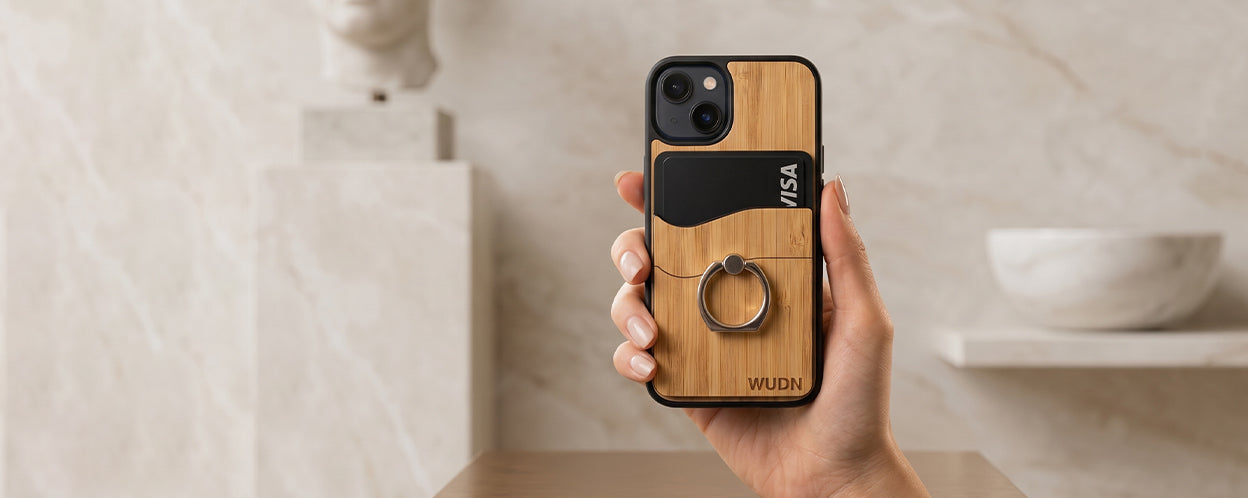
Real Purpleheart Wood Products from WUDN
How about a phone case or a flask to match your new wooden purpleheart cutting board.
Shop Now>>
Choosing Your Cutting Board Design
Designing your cutting board might be the most enjoyable part. You can really let your creativity run wild here. To help you out, we’re going to give you a few ideas:
You can use exotic wood as a stunning accent, and surround it with domestic wood. One or two boards of Purpleheart will look excellent when surrounded by Cherry or Walnut.
For a gorgeous visual effect, consider designing an end-grain cutting board. This style reveals the wood rings and intricate grain patterns of the board. End-grain cutting boards are both aesthetically pleasing and more durable.
To create one, cut each piece of wood into blocks. Then, place each block with the end grain facing up so that the grain is perpendicular to the cutting surface. When you assemble the pieces, the result will be a beautiful checkerboard pattern.
Next, choose the design features you want to add. These may depend on how comfortable you are with woodworking. You might choose to add a handle at the end of the board. Or, you can use a router to add a juice/drip groove near the edge of the board.
Suggested Lengths, Widths & Thicknesses
Of course, you’re free to choose the size and shape that you desire. It’s worth taking a look at your counter space to see what will fit.
But if you want to know the standard dimensions, here’s what we recommend:
Length: 12” or 24” long
Width: 12” wide
Thickness: 1 ½” – 1 ⅝” thick

Tools You will Need (Required)
Here’s a quick rundown on everything you’ll need to make your board:
Pencil & measuring tape
Safety equipment
Table saw
Router
Planer or sandpaper
Glue gloves & a glue brush
Clamps
Silicone/rubber feet
20 Best (Completely Addictive) DIY Woodworkers on YouTube
Woodworking is a very interesting craft to watch, and there’s something amazing about seeing a great woodworker build something from scratch out of a piece of lumber.
Read More>> DIY Woodworkers on YouTube")
Cutting the Wood Down to Size
First thing’s first: put on all your safety equipment. Get out your earplugs, dust mask, safety goggles.
Now, it’s time to measure the wood. Use your pencil and measuring tape to outline the dimensions of each piece. Then, feed the wood into your table saw, and cut along your measured lines. Try your best to make each board the same length/width—it will make the assembly stage much easier.

Assemble & Glue-Up the Pieces
Before you apply any glue, we suggest testing your measurements first. To do so, line up each piece of wood as if you were about to glue them together.
When each piece is positioned correctly, you can see if anything is out of line or too thick. It’s much easier to adjust the dimensions before you add glue, so if anything needs tweaking, now’s the time to do so.
Here’s another tip: if you’re making an end-grain board, assemble each piece so that the direction of the end-grain alternates. This prevents the wood from splitting or warping when wet.
When you’re ready, put on your latex gloves, and spread the glue along the wood with a brush. Then, assemble each piece, and press them together. Now, attach the clamps to ensure a secure fit.
The pressure from the clamps will cause some glue to squeeze out the sides; wipe it down with a damp cloth to remove it. If the glue has hardened, scrape it off with a chisel.
Once the glue is set, you can add rubber feet to the bottom/corners. Since the board is so smooth, it might slide around on a counter while you’re cutting on it; the silicone feet will keep it in place. The glue will take roughly two hours to dry.
Woodworking Video Tutorial: DIY STRIPED CUTTING BOARD
The Complete Guide to Wooden iPhone Cases
Here is a comprehensive review of every legitimate wooden iPhone case from all of our competitors in N. America.
Read More>>
Prepare the Surface
The next step is sanding it smooth. If you have a planer, run it over the surface of the board; this will level the surface and remove any remaining glue. Alternatively, you can smooth the surface by hand using sandpaper.
At this step, you can add rounded edges; this creates a modern, stylish look. To do so, you’ll need to use a router. Pass over all four corners with your router until they’re smooth and even.
After you’re finished, you’ll probably need to do a few more passes over the surface, too.
At this stage, you can add decorative edges or handles to the ends/edges of the board.
The intricacy of your board will depend on how comfortable you are with using a router.
Once your board is the desired smoothness and shape, apply a wood oil coat to finish it. Let the finish dry for at least one night before using it.
Caring for Exotic Woods
We know that the sun can change the color of our skin or hair. But did you know that UV rays affect wood, too? If you leave your Purpleheart cutting board out in the sun, you’ll see that over time, its tone and vibrancy will fade.
You can prevent this from happening in a few ways. Start by storing it away from sunlight—preferably in a cabinet or drawer.
Next, regularly apply a wood cream/oil to protect the board from damage. Wood is different from plastic or metal; it needs to be nourished and hydrated over time. You can reapply the coating every few months.
The team at KJP Select Hardwoods writes, “We recommend finishing your cutting board with a natural wood cream; this product will protect the wood and restore its luster. Choose a non-toxic product to ensure that your cutting board is food-safe.”
Over the years, your cutting board will garner a few knife marks. Before you reapply any mineral oil, you can sand away some of these dents. Then, finish the board with wood cream, and allow it to dry completely before using it again.

That's It
And that’s it! Now you know exactly how to create a cutting board from exotic wood. It’s a great woodworking project for beginners. There are so many possibilities when it comes to assembling and shaping your board, especially when you’re using exotic wood. We hope this guide helps you get started.

Best Groomsmen Gifts Under $50 | Wooden & Personalized Ideas
Wooden MagSafe iPhone Cases: Everything You Need to Know
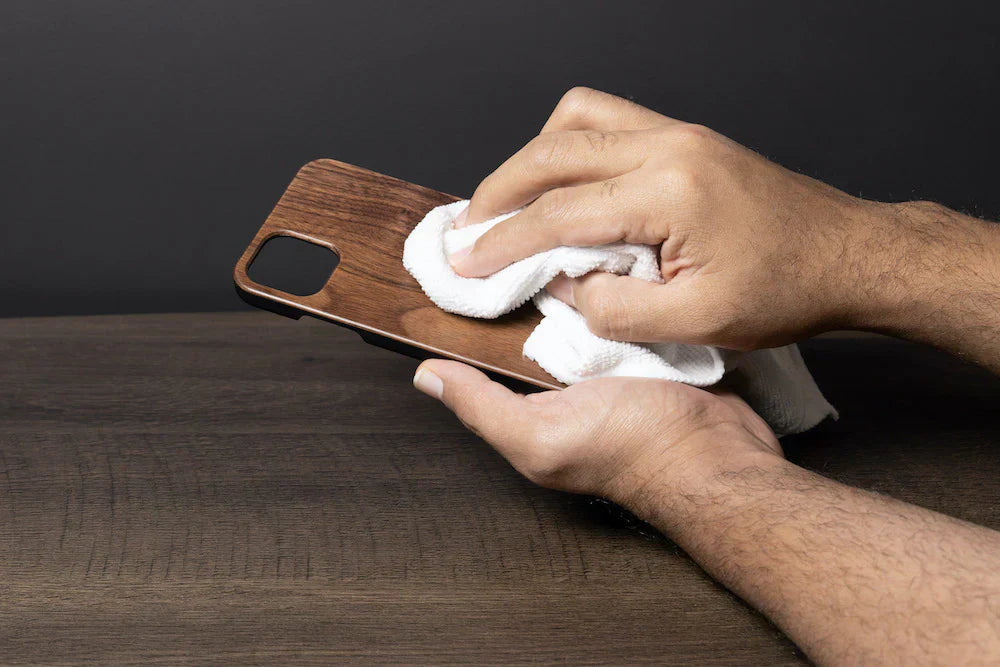
How to Care for Your Wooden iPhone Case: Complete Maintenance Guide